I decided not to inflate the original article about hammocks in relation to hiking, but to bring here everything that concerns their special (hammocks) use and all sorts of tricks.
Winter hiking with a hammock
With a hammock in its purest form, going on winter hikes is not easy. It’s too cold. Therefore, the designers solved this problem with the help of an additional element – the insulation systemLink, which must be purchased separately at a price of $129.95. It is not heavy (480 grams).
Its installation will allow you to comfortably spend the night at a temperature of -10°C (effective -30°C), if you have a sleeping bag designed for the same comfort temperature (-10°C). This is evidenced by the field trials of the British commandosLink, who tested the insulation system in the Arctic Circle in Norway.

It consists of a liner (insulating pad under the bottom of the hammock), a second bottom (wind protection for the liner), and a mini-roof, the task of which is to limit the movement of air in the interior of the hammock. It turns out almost a closed system hanging between the trees. The mini roof has a small vent for fresh air.
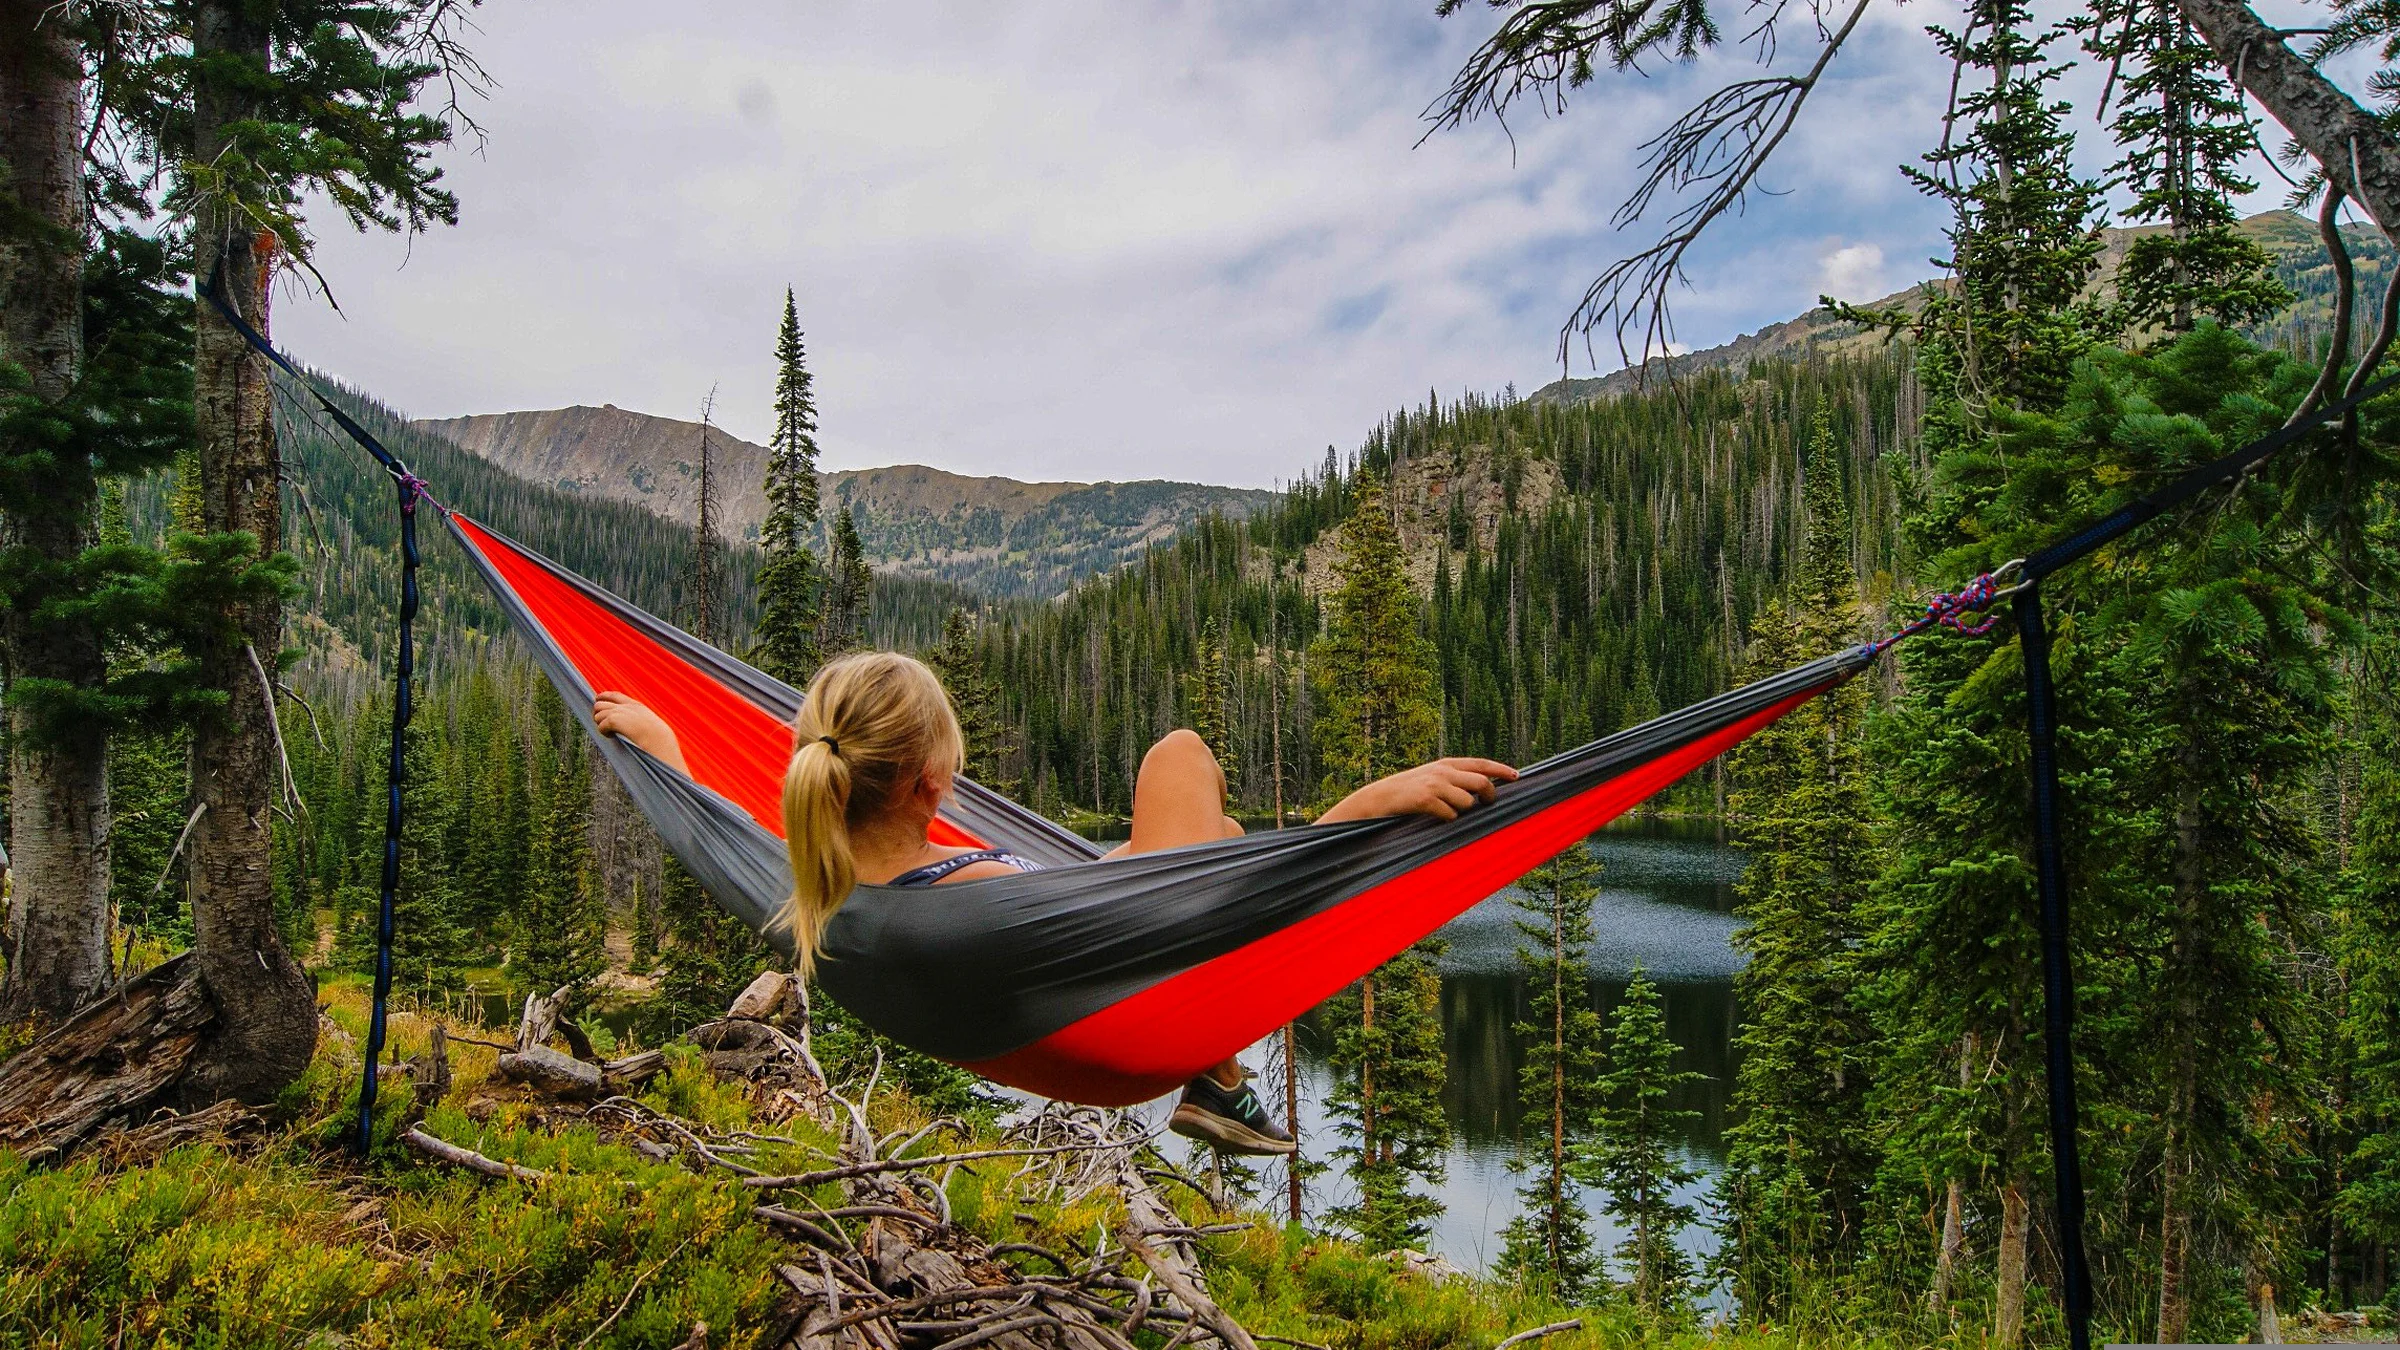
In winter, I didn’t have a chance to walk with such a system, but in autumn it was comfortable to spend the night in such a shelter.
Pulling a hammock through a carabiner (alternative chain hoist)
I used the chain hoist node that I talked about in the original article for quite a long time, but this node had a drawback. It takes too long to tie and untie for the same amount. For some time now, this shortcoming began to interfere with me worse than a splinter. Around the same time, a brilliant idea struck me: to use a much more efficient and lightning-fast (compared to the previous) option. But in order to use it, you have to learn one more knot if you don’t already know it.
Austrian conductor
This knot is extremely useful and is often used in mountaineering and just when working with a rope. In English metric, the knot is called “Alpine Butterfly knot” or simply “Butterfly knot”.
There are many ways to knit this knot, but I chose the easiest.
Now we take our hammock and knit an Austrian conductor on one of the ropes with which the hammock is attached to the supports somewhere in the middle. Get a loop that does not slip on the rope. A carabiner is threaded into this loop. Let’s give it the code name G (hammock). You can do without a carbine, but then you need to be very careful, because. when the rope rubs against itself, it can easily melt.
I believe that by now you have:
The other end of the hammock is already tied to a tree. I use the Siberian knot for it.
The working end is in your hands.
The hanging loop is already tied around the tree. We also fasten a carabiner into the hanging loop. Let’s give it the code name D (tree).
Scheme: the position of the knot on the rope
We thread the working end of the rope into the D carbine and pull it to the D carbine, then again to D. It turned out to be a very good chain hoist.
Note
You don’t need to do too many turns either. The force of friction increases. Of course, pulling the tackle is much easier when there are blocksLink. But who will also carry blocks with them? Not everyone takes carbines with them on a hike. Is that only speleologists.
You start to pull. You will be surprised how quickly you reach the desired tension of the hammock. Now you fix the rope with two half bayonets and you can try to sit down.
I liked this method of tension so much that I don’t even untie the knot (conductor).
And now everything is the same, but on video and in Russian. The main role is me.
Hammock bench
Immediately after / immediately before the halt, I make a bench out of a stretched hammock for breakfast / dinner. It is done by elementary lowering of the hammock to a level low chair. It turned out to be much more comfortable to sit in such a bench than on a stump or on the ground. It is only necessary to put something under the neck so that the tension cord does not cut the neck.